Have a wonderful weekend Everyone!
Cheers!
M J
|
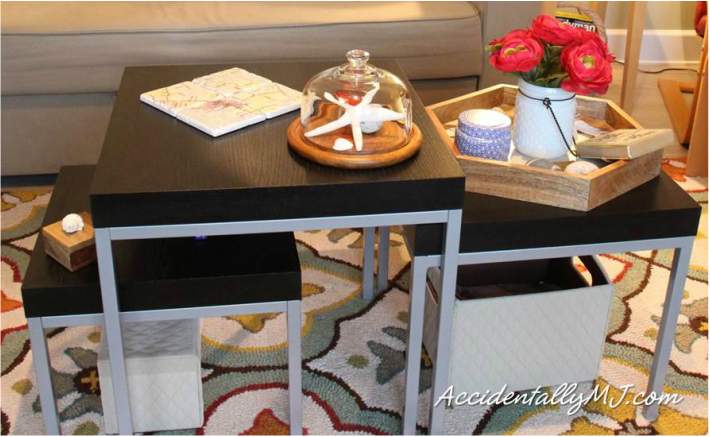
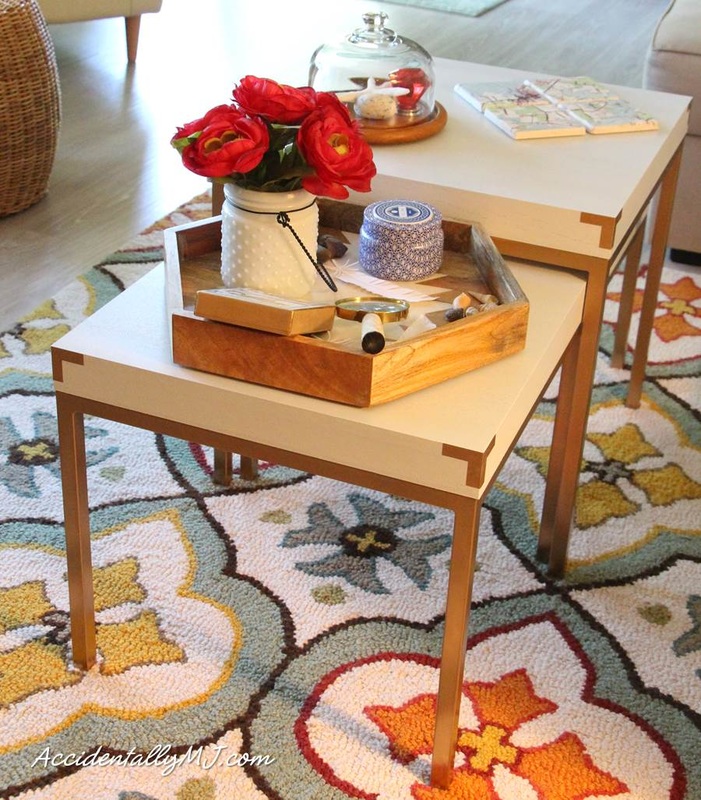
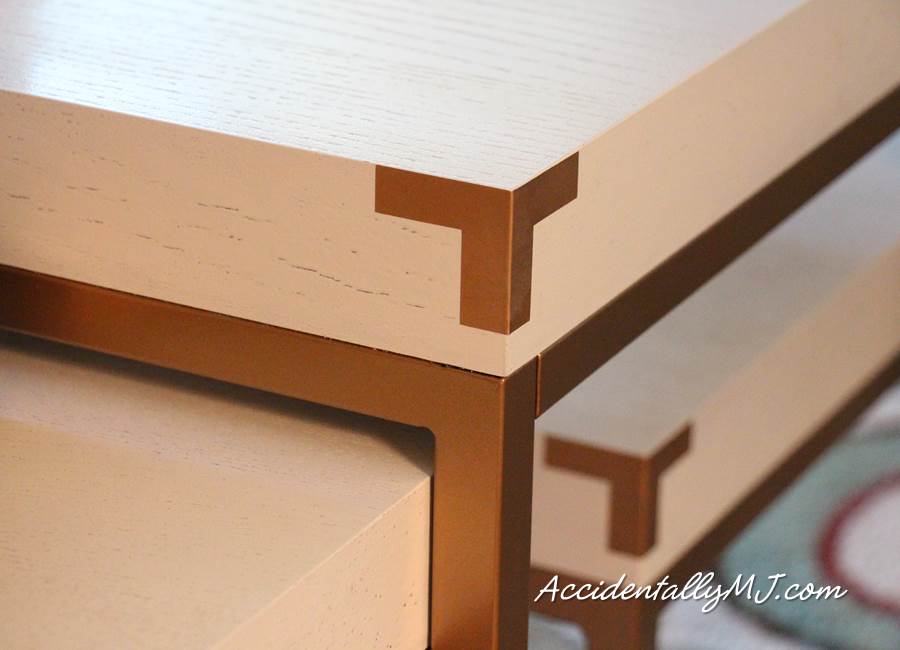
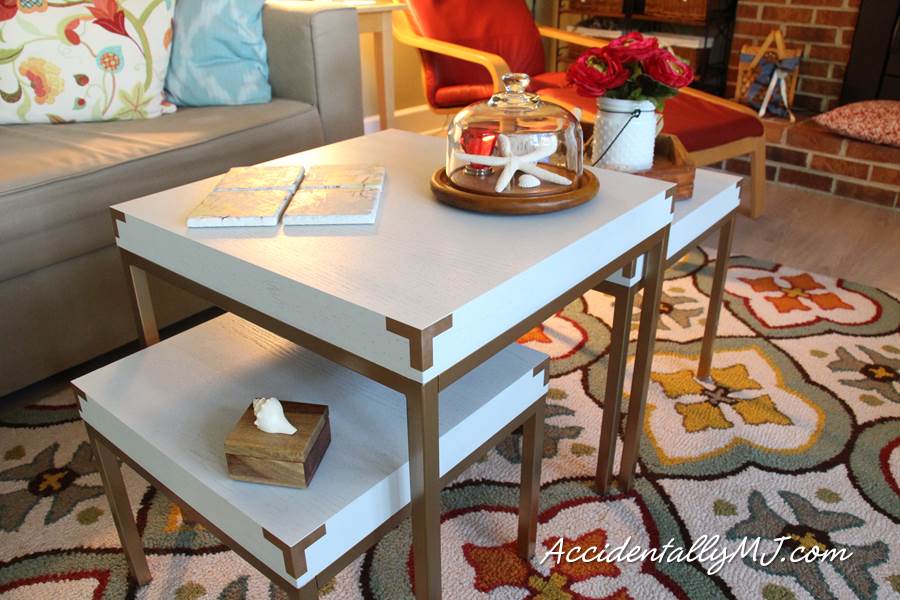
As I mentioned in my last post, I did get around to renovating another piece of furniture last week. We have had this small chest on a metal stand since 1997. While it has served its purpose dutifully, it was time for a makeover... 
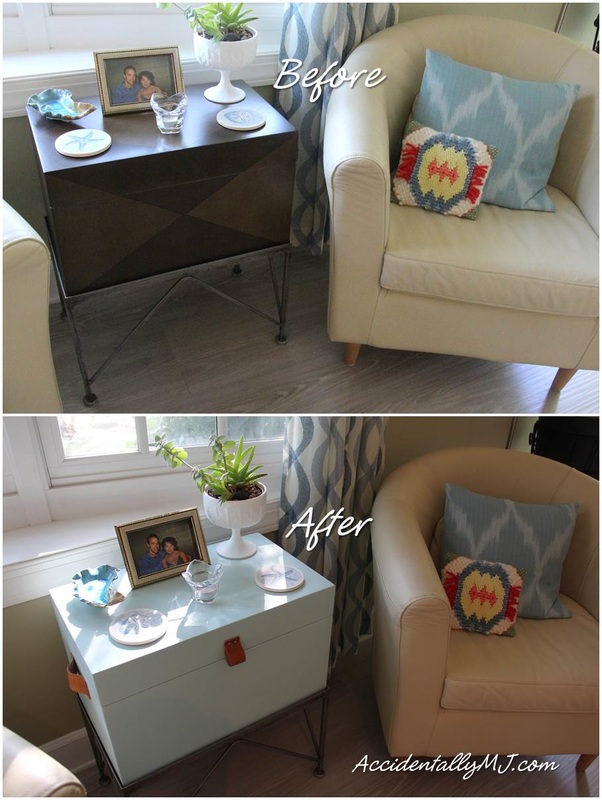
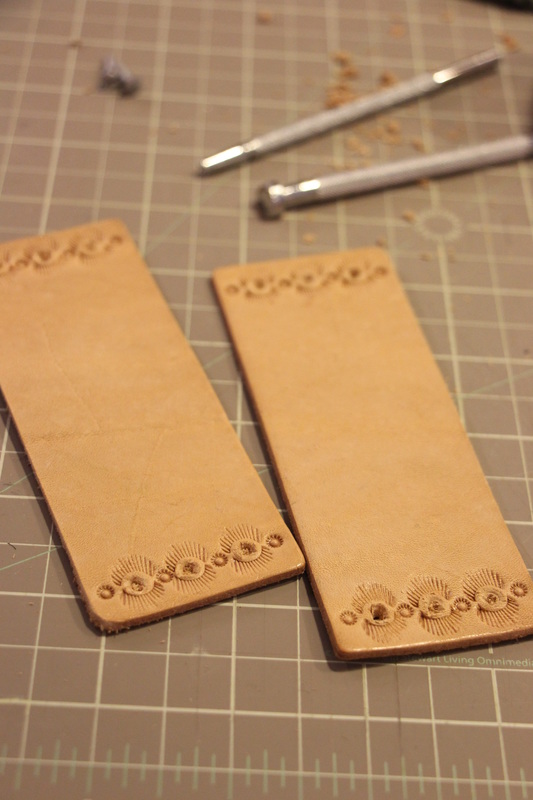
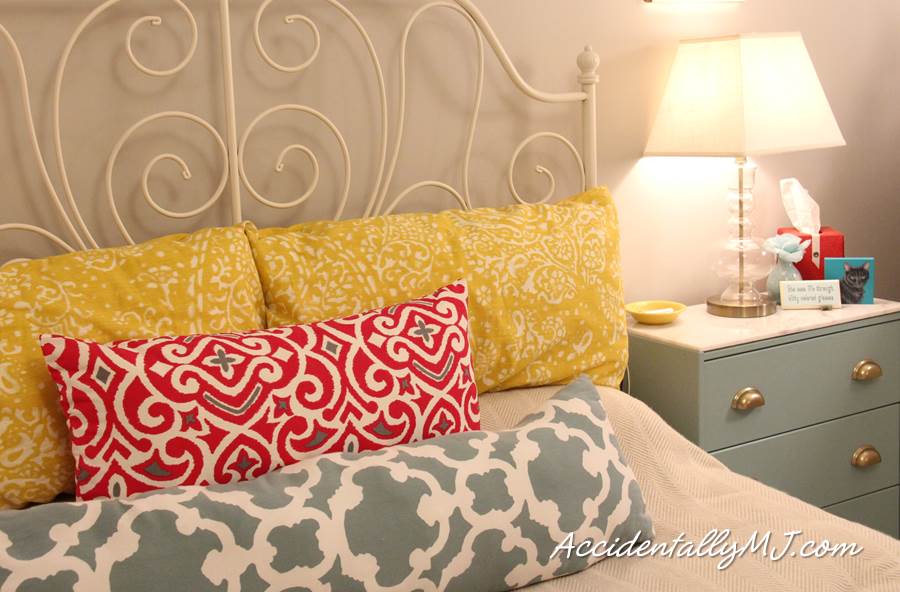
After my experience with the spray paint on the nesting tables, I decided to prime this piece. I used regular old grey auto primer then two coats of this pale turquoise. It is La Fonda Mirage by Valspar. While the paint was drying, I got to work on some handles with my leather tooling kit: 
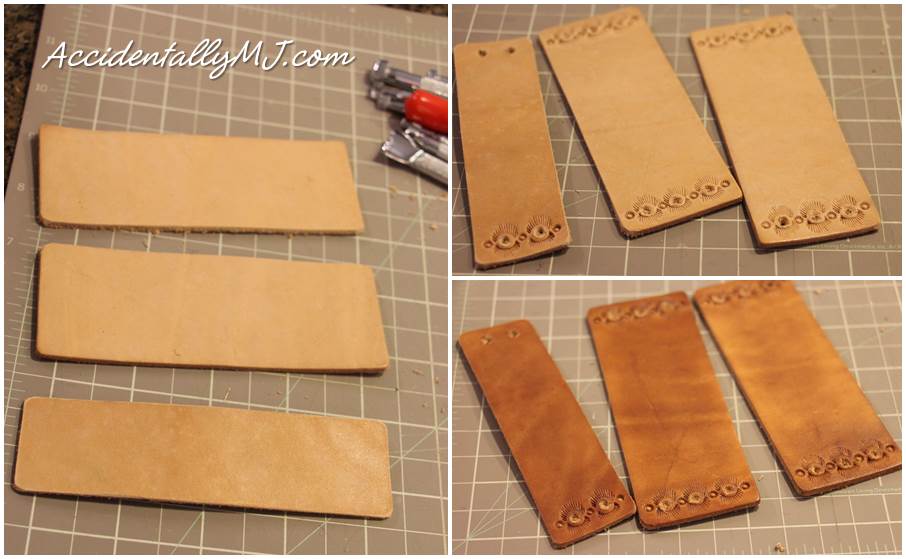
Luckily, I had just enough blank leather pieces to create two handles and a small loop for the front of the chest. I did some decorative stamping around the screw holes and treated the leather with some mineral oil. I found some decent looking wood screws in the shed, drilled holes, screwed them in and voila! Leather handles: 
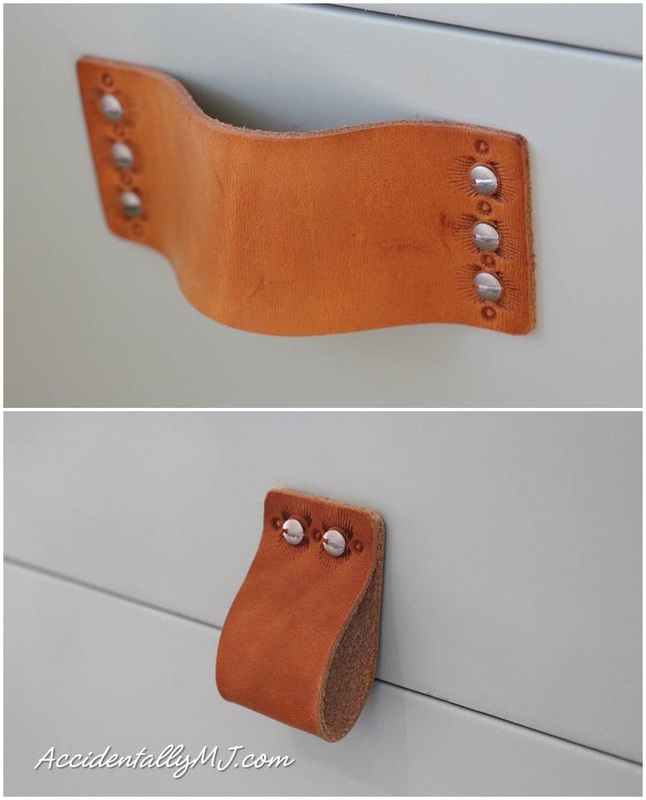
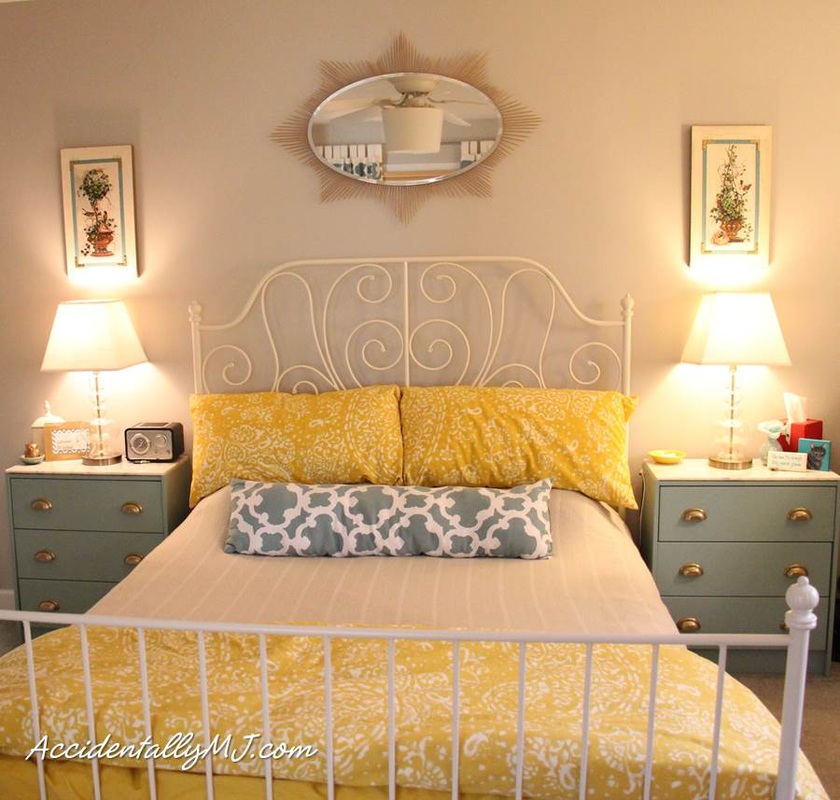
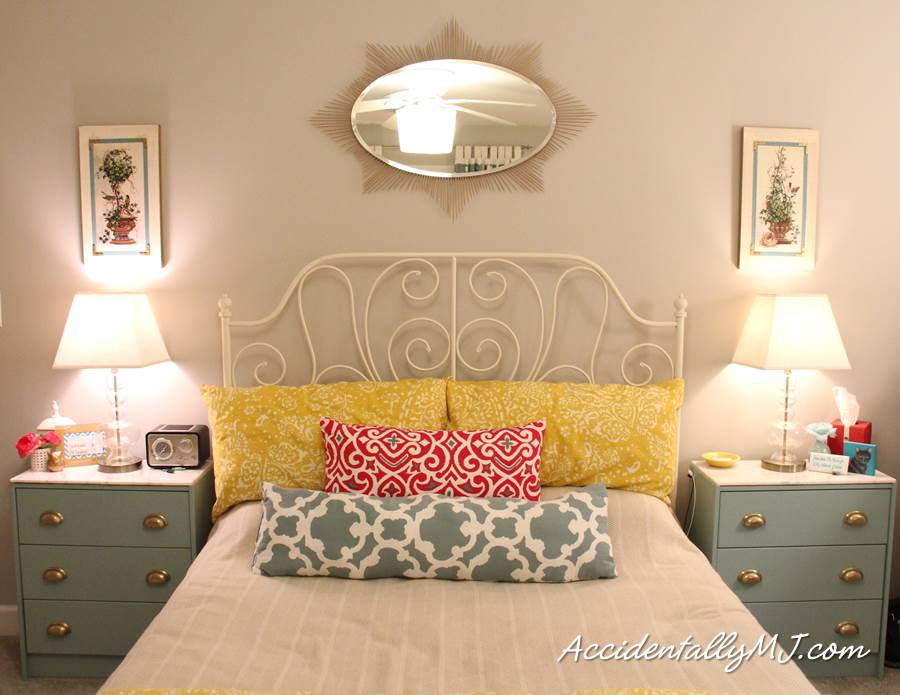
I think the paint and leather handles gave it a whole new life! 
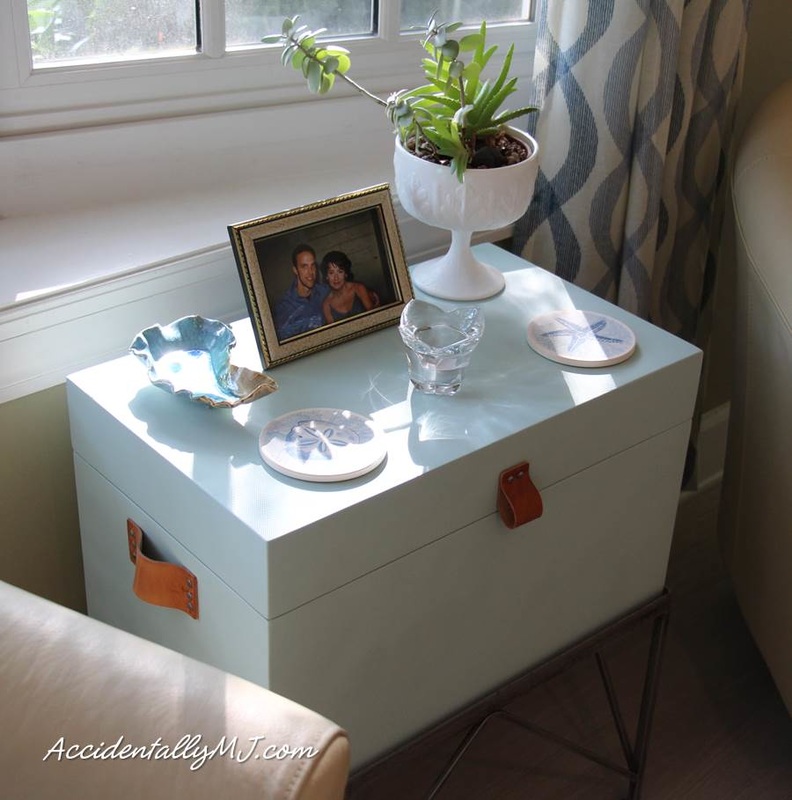
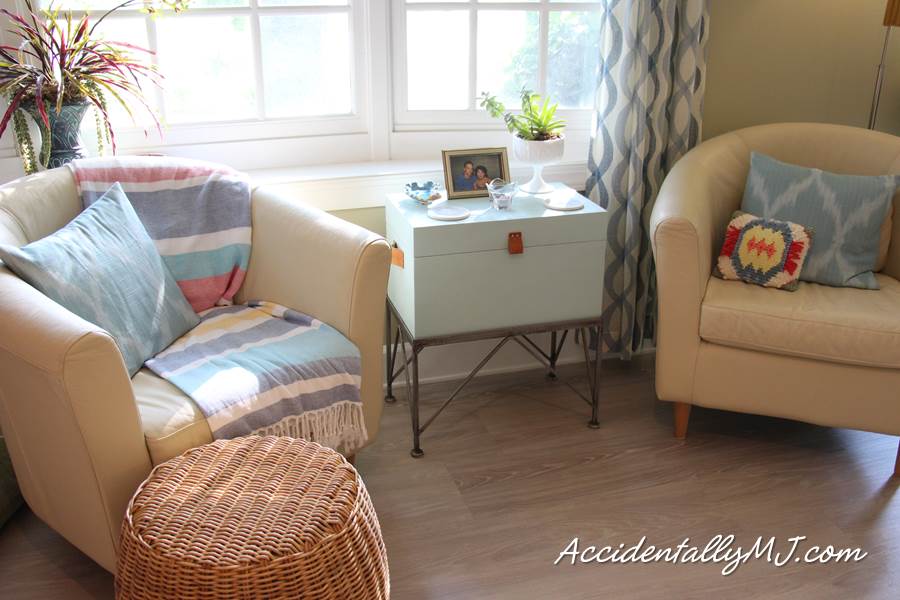
It definitely brightened up the space. I am pretty happy with the results, although the finish of this paint was flat. I may go back and seal it with some clear satin spray, but for now, I'm calling it good enough!
Have a wonderful weekend Everyone! Cheers! M J
0 Comments
I am currently on a little solo break visiting my Aunt and Uncle in Pennsylvania. I took the long, winding route so I could enjoy some of the beautiful scenery on my drive. Unfortunately, there were no opportunities to snap any photos while driving (although, I have seen some people doing that - Um, hello! Dangerous!). I arrived yesterday before dinner and we were able to relax, have some wine and enjoy a delicious dinner by my Auntie on the deck watching the sun set. My Uncle is an incredible artist, as I have mentioned before, and we will be working on some art projects while I am here this week. So excited! In other news, I did finish up another of my furniture renovations last week. Here is a sneak peek of a little part of that reno: Have I piqued your interest?? Didn't know I could do leather working? ;-) I'll post about that reno later this week. Until then, I'm off to spend some quality time with Auntie and Uncle! Have a great week Everyone!
Cheers! M J We have about a month until settlement on the new house, so I decided to tackle some small furniture renovation projects before we are completely bogged down with the house renovations. Remember my post about remote storage in the living room here? As a reminder, here are the nesting coffee tables from Ikea that we've had for years: To be honest, I'm a bit over the super dark wood pieces now-a-days. These tables are still serviceable, so some spray paint, adhesive vinyl and Rub & Buff brought them up with the times: I picked up some Rustoleum spray paint in bright gold for the legs and some Valspar spray paint in Azure Snow for the veneer tops. Unfortunately, I didn't notice that the Valspar was gloss. Duh. No problem. Luckily, I had some clear satin spray paint in the shed and it knocked the glossy mess right down to a nice satin sheen. The corner pieces are white adhesive vinyl that I cut with my Silhouette machine and then turned gold with some Rub & Buff. Have you ever shopped for brass corner hardware for furniture? Um, yeah, not spending that kinda money on cheap Ikea tables. We have an entire house to renovate my Peeps... However, I was happy to see that the wood grain of the veneer still shows through the paint a bit and gives the tops some much needed texture: The paint didn't want to stick to the veneer in a few places, so I just let the first coat dry and did another. They aren't perfect, but they'll work until we can afford a new coffee table! :-) Let's just hope they survive the move two blocks over to the other house... Good thing we have a lot of coasters. I have a feeling this finish isn't gonna last too long! LOL! I have four more pieces of furniture to refinish in the next month. Let's hope the next piece takes the paint better than these darn tables... It may be time to invest in a bottle of deglosser!
Have a great weekend Everyone! Cheers! M J Since Sunday was the summer solstice, I realized it was time to change the front door wreath to the summer version! I made this wreath a few years ago with a wispy wreath base, a mermaid ornament, shells, dried and fake flowers. Oh, and my trusty hot glue gun, of course... The little mermaid ornament was just too darling to pass up... This wreath has survived a few years now, but it is showing some wear and has lost some of the dried elements. However, I'm just not ready to part with it just yet! When I am ready, I will take it apart and repurpose what I can. Have you changed up your door decor for summer yet?
Have a great weekend Everyone! Cheers! M J Well, I am currently in Miami, Florida working on our annual international conference. The clouds were beautiful from the plane window... When I travel, I miss my Hubby and our kitty Raven. A few years ago, I made a DIY valet and photo frame that easily tucks into my luggage. The photo frame fits neatly into the valet and snaps closed. Then the valet snaps open to hold my rings, watch, and earrings... Here you can see where I sewed the snaps to create the valet: The little frame is just an old cereal box cut up and covered with the same fabric scraps. I even installed little magnets to keep the frame closed when in travel. Yeah, just a bit of overkill... LOL! It is so nice to have this handy little valet and comforting to see my Hubby and my Kitty on my night stand. I've been using this for a few years now and I love it!
If ya'll don't hear from me next week, I'm a workin'!! ;-) Have a great weekend Everyone! Cheers! M J So, I was gonna just pull out my usual summer mantel decor, but then I decided to create something completely different! I spotted this great rug at a local shop in town and thought, "Hey, I remember seeing a tutorial out on the web for a wall hanging using a woven rug!" I just loved this rug, and at 30 bucks, I was sold! If you are interested in steps to create something like this, check out this tutorial here. I already had all the yarn I needed to get started and it all coordinates with my summer pillow covers: It took a few days to create. I made a final trip to purchase a cheap curtain rod and some Command hooks to hang it temporarily since I change the mantel so often. ALSO, I needed my tall Hubby to help me hang it (#shortgirlissues). I love it! It looks great with a collection of white vases and items from around the house and it coordinates very well with the pillow covers and area rug... After taking all these pictures of the living room, I now realize that the crewel-work drapes need to be changed for summer. Another project! ;-)
You may have noticed my posts have been lighter lately. Gearing up for our annual conference has been lots of work, but I will be back full strength after that! Have a great weekend Everyone! Cheers! M J Since our kitchen plans are on hold until we choose a different mosaic backsplash tile (thanks a lot Lowes), I decided to occupy my time with a small craft. Rather than reinventing the wheel, if you would like a step-by-step tutorial for this project, please check out this post. It tells you all you need to know! Here is my little pillow project: Here are all of the supplies I used to make this one tiny, little pillow... ;-) I was going for colors to coordinate with our spring pillow covers in the living room. I think it looks really cute, even if the weaving isn't executed perfectly... This bright little pillow just makes me smile when I see it, and isn't that the best sign of a successful project? It may not be perfect, but I know I made it with my own two hands! :-)
Happy Friday Everyone! Have a wonderful weekend! Cheers! M J A few weeks ago, Hubby, Niecey and I went to one of those paint your own pottery places and had a fun time painting some pieces. Well, Niecey and I had fun, but Hubby just wasn't too into the whole painting thing. However, they also do glass fusing and slumping there, which piqued his interest. The next day, He and I went in so he could work on a glass fish mosaic that he had in mind. I wound up helping him with it and we had a great time collaborating on colors and shapes: We were so excited to see how he turned out! Hubby picked him up and we gave him a prime spot on the mantel: I placed him a nice, heavy brass stand and he fits right in with the lamp lighting him from behind. This was such a relaxing, affordable project for us, we may have to do it again!
I hope you are all having a great week! Cheers! M J Ok, I just need to caveat this post with a slight warning to you guys out there - there is now ONE pink pillow on our bed. OH THE HORROR! Yes, I share a bedroom with the Hubby. Yes, I am aware that pink is a very "girly" color in most people's minds. And, Yes, my Hubby has worn pink before and is still as manly as he ever was. So there! ;-) But I digress... Remember our master bedroom makeover from this post? Here is the bed wall as it has been since the makeover: See that tissue holder on the right night stand? That is the deep pink color I was searching for in a pre-made pillow for weeks. The perfect size pillow. The perfect color and pattern. Yeah, right. Good luck finding exactly what you want for a decent price. Sigh. Sooooo, off we went to Joann Fabrics on a good sale day. We found the perfect color & pattern fabric and the perfect size pillow form BOTH on sale! I was so excited, but only found time to sew the new pillow cover today: AAAHHHH. It gives just the right POP of color now along with the tissue cover and the small vase of flowers on the night stands... The mix of colors and patterns is so pleasing to my eye now. The bed wall was just feeling too flat to me. AND since Hubby helped me pick out the fabric, I know he will love it when he sees this post! Suck it pink-haters... LOL! ;-)
Happy Friday Everyone! Have a phenomenal weekend! Cheers! M J I did it!! I finished the 2014 scrapbook with hours to go on my self-imposed deadline of April 1st! Yay! Yes, I am a total nerd... Remember my last scrapbook confessions here? Well, I actually finished the last few months of 2014 by breaking my pages into months. Here's the story... ;-) Wow, I didn't realize we took so many selfies until looking at these all together! LOL! It took me a bit to get away from the calligraphy and perfect handwriting I used to employ in my scrapbooking. Now I just go with the flow. Nothing is perfect, especially life, so why should my scrapbooks look perfect? I am just happy to have our 2014 chronicled - finally! In other scrapbooking news, the tiny 2015 scrapbook is ONLY 3 weeks behind and I can knock those weekly pages out in no time... I hope... More on that book in my last post. That does it for another Scrapbook Confessions! I hope you are all having an awesome week!
Cheers! M J |
AuthorHi There! I'm MJ, a 40-something professional woman with a love for art, crafting and decorating. Here I hope to share my experiments and inspire others as they have inspired me... Archives
April 2020
Categories
All
|