
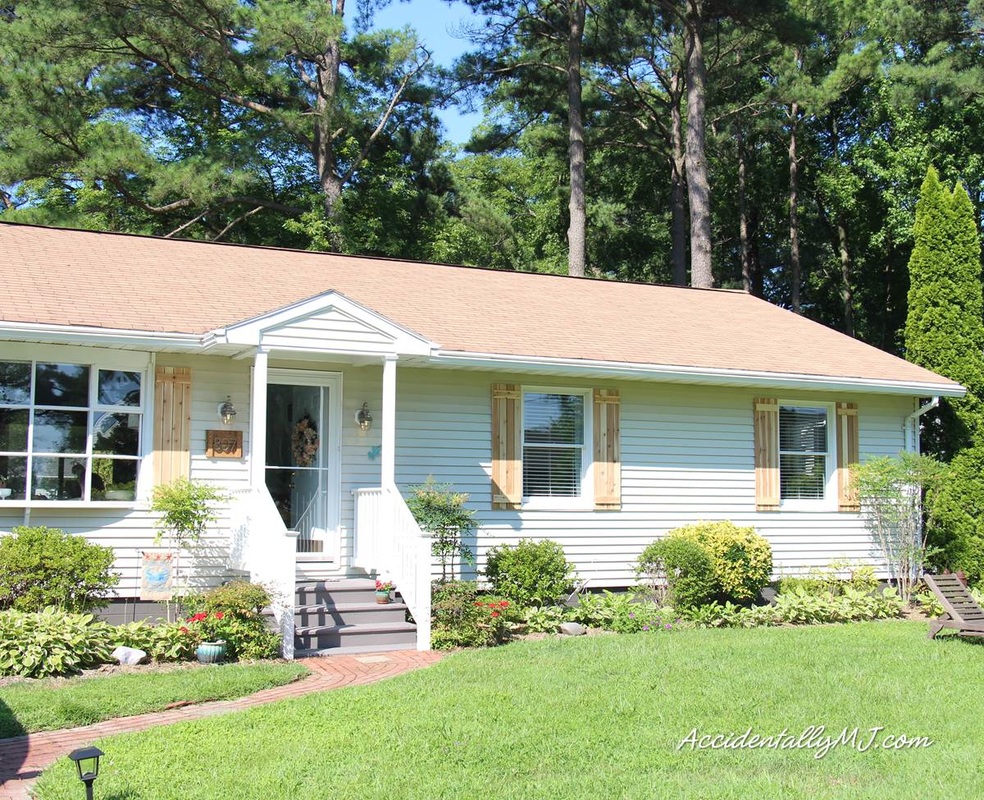
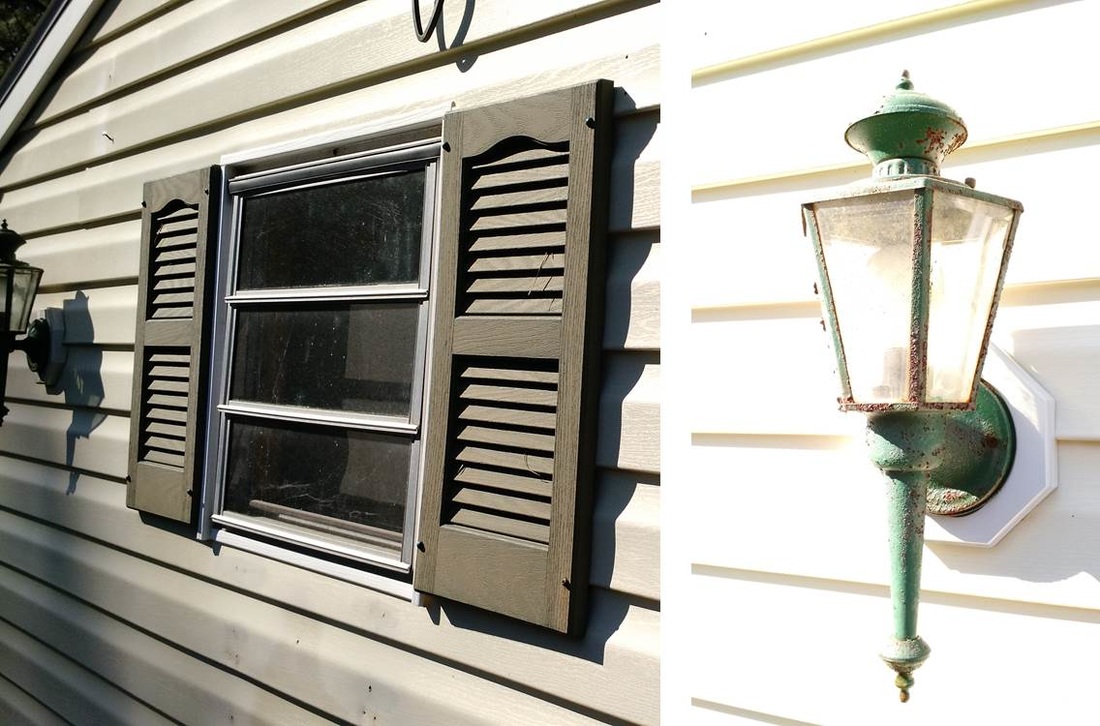
As promised, we got the shutters built and hung on the house! And can I just say, I am soooo relieved this project is done... :-)
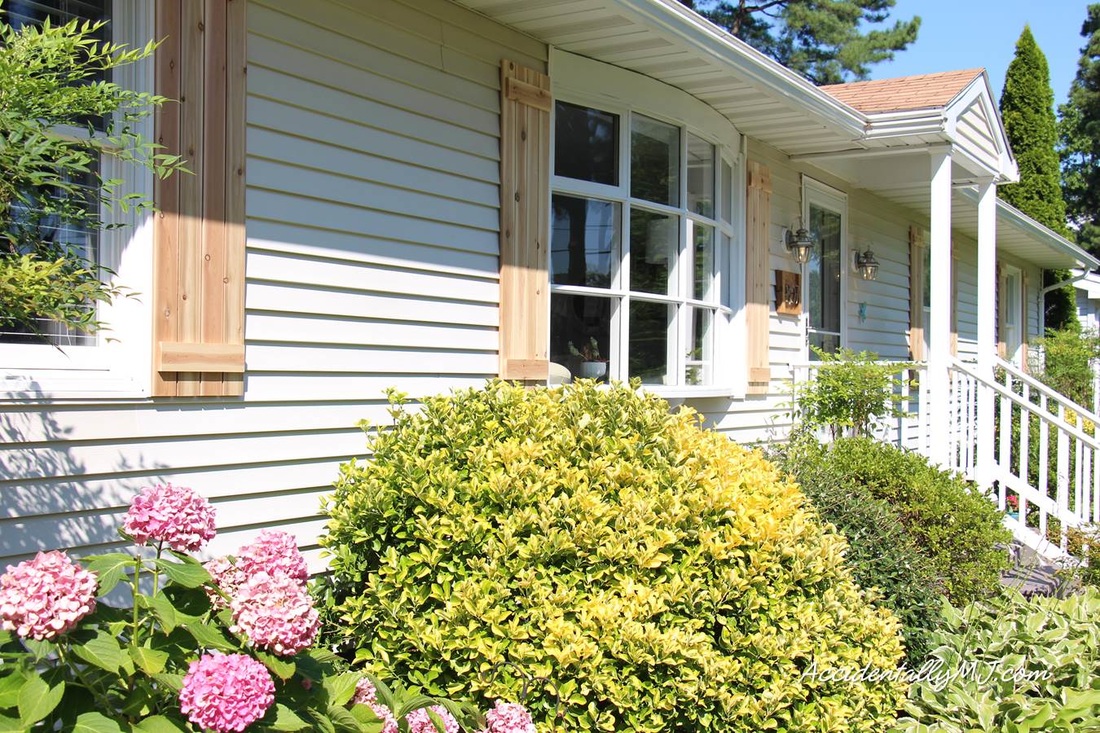
We simply used all 1 X 4 cedar boards cut to the dimension of each window around the house - all eleven of them. That makes 22 shutters all together...
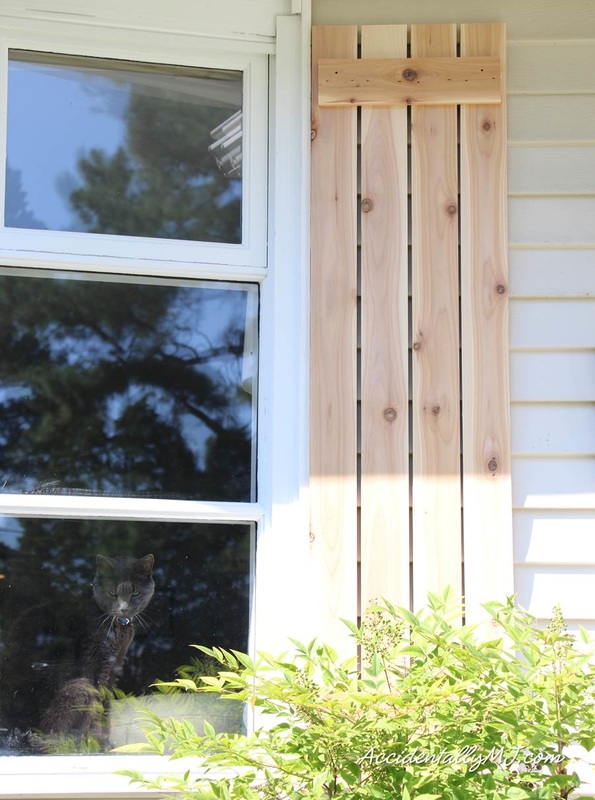
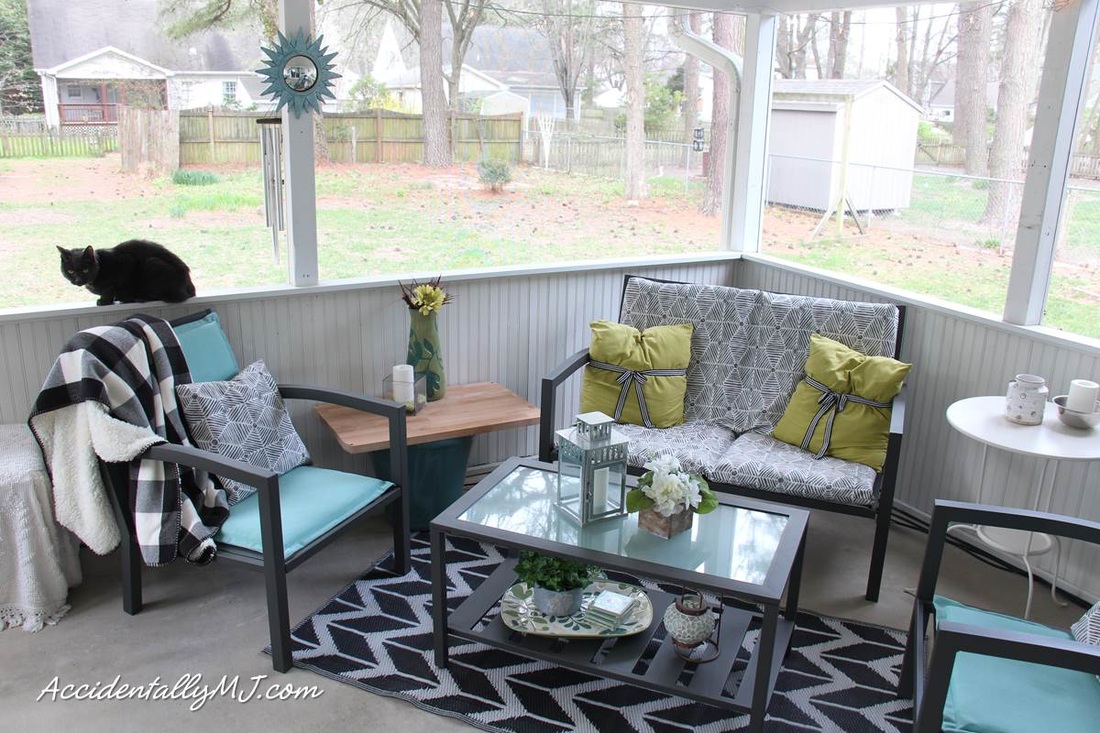
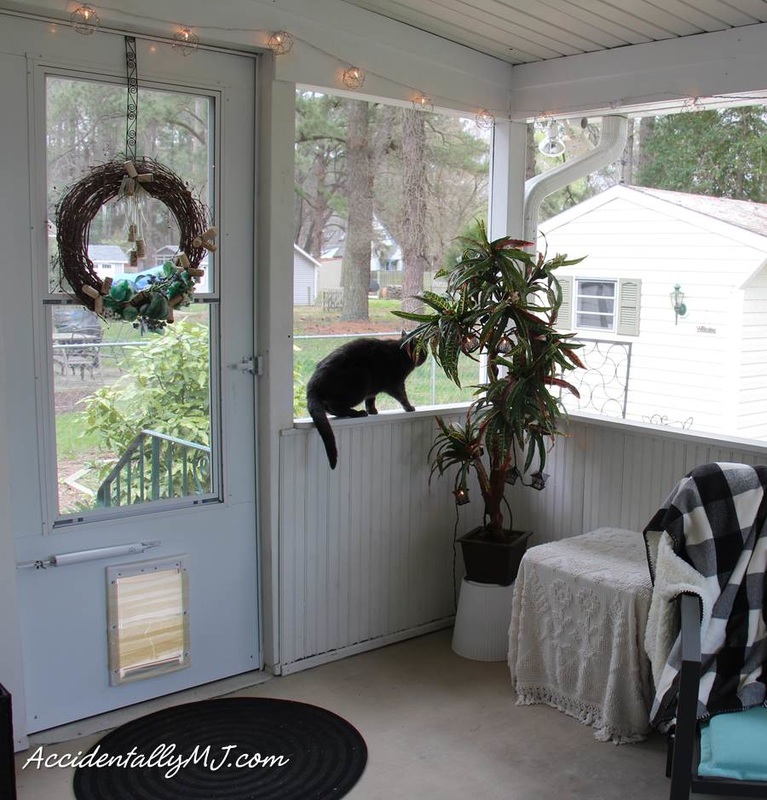
Hi Raven! ;-)
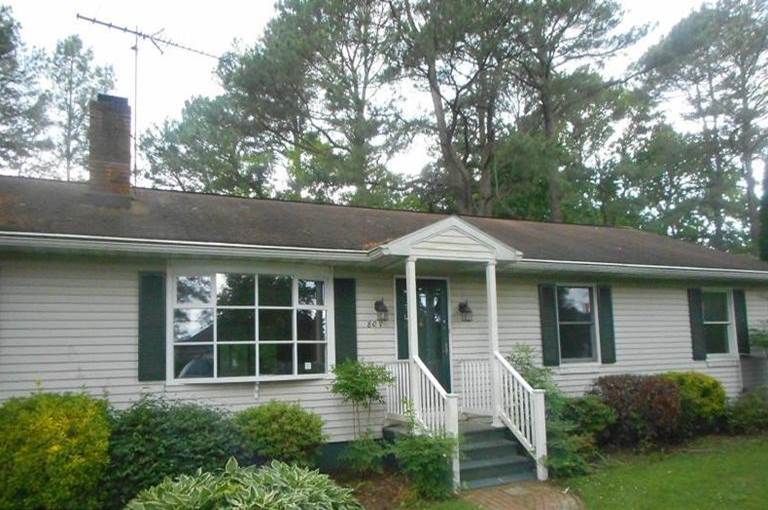
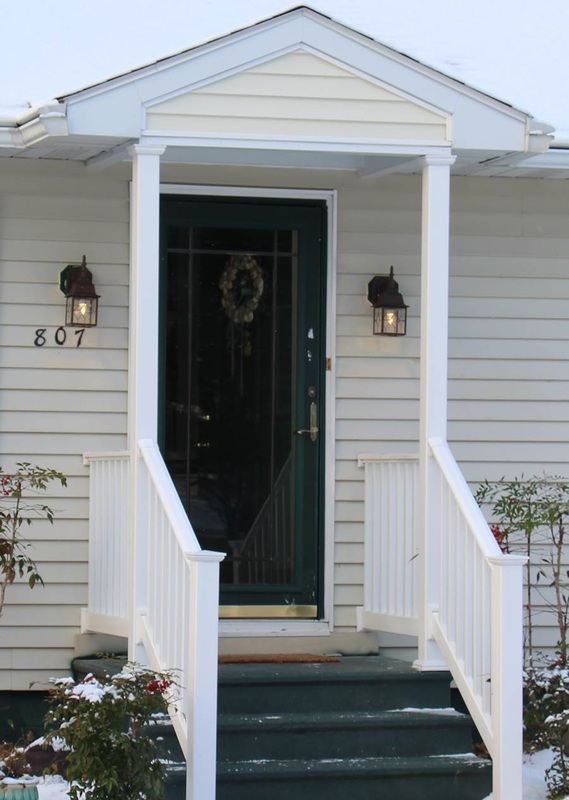
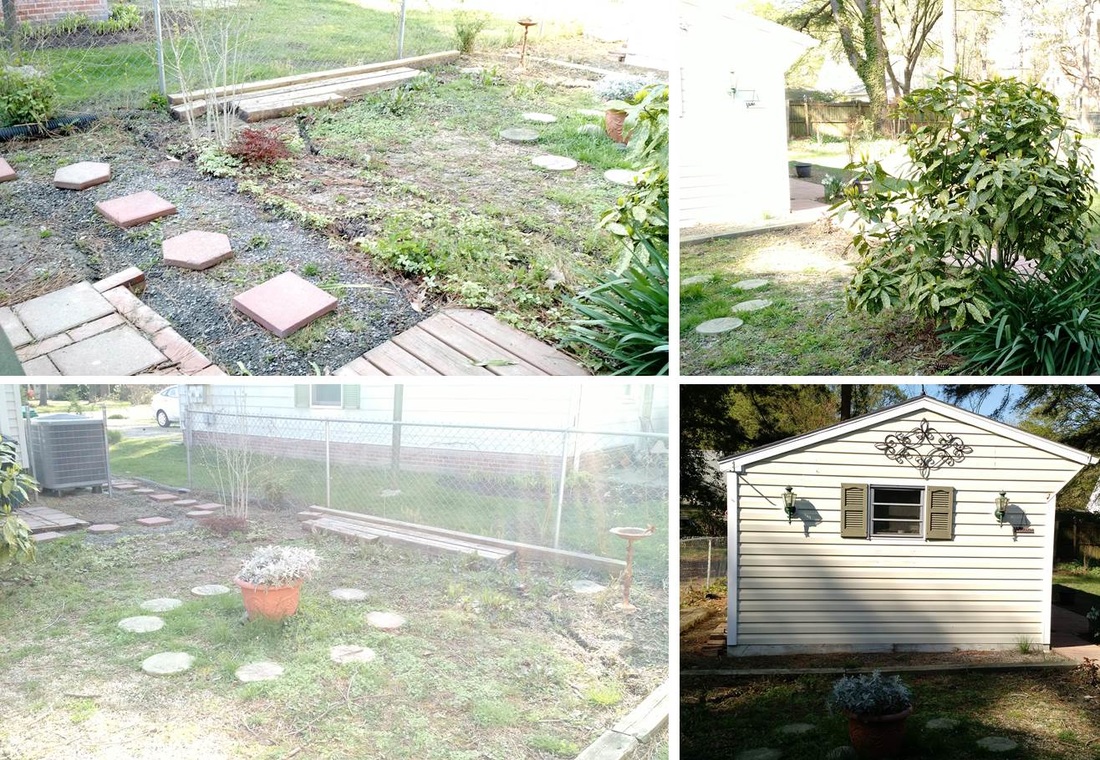
Just to remind you of what the house looked like when we bought it, here is a before picture from the listing with plastic shutters, hunter green everything and the dirtiest roof ever...
Just to remind you of what the house looked like when we bought it, here is a before picture from the listing with plastic shutters, hunter green everything and the dirtiest roof ever...
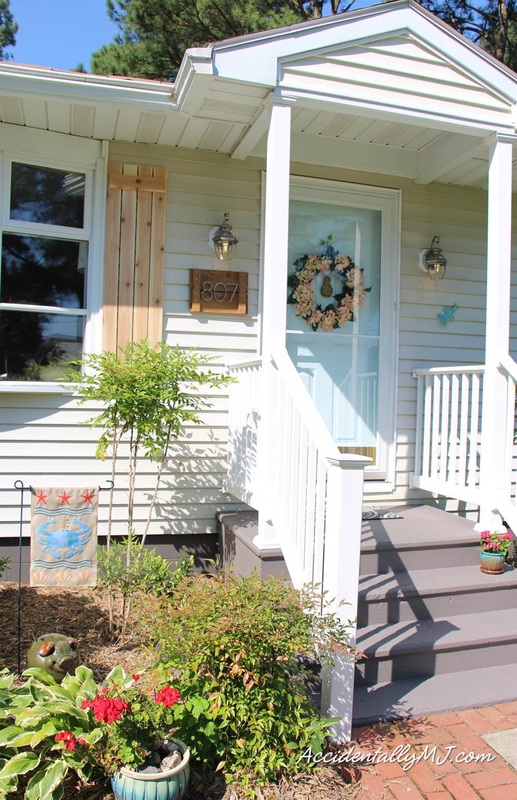
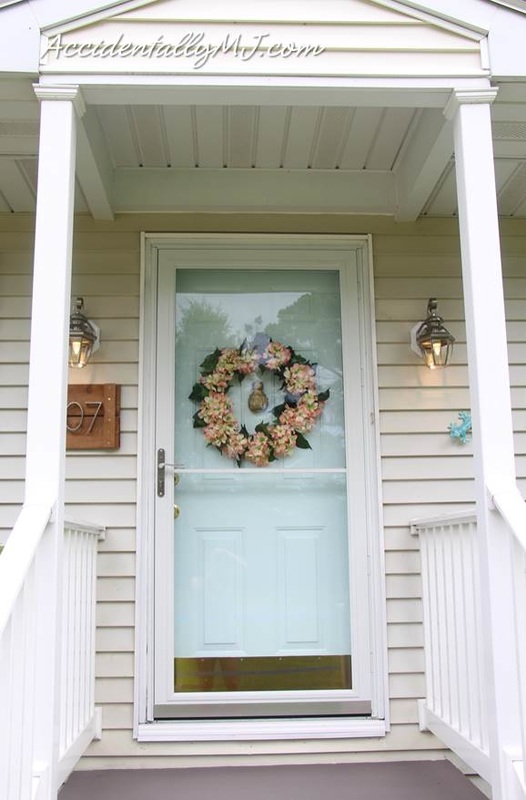
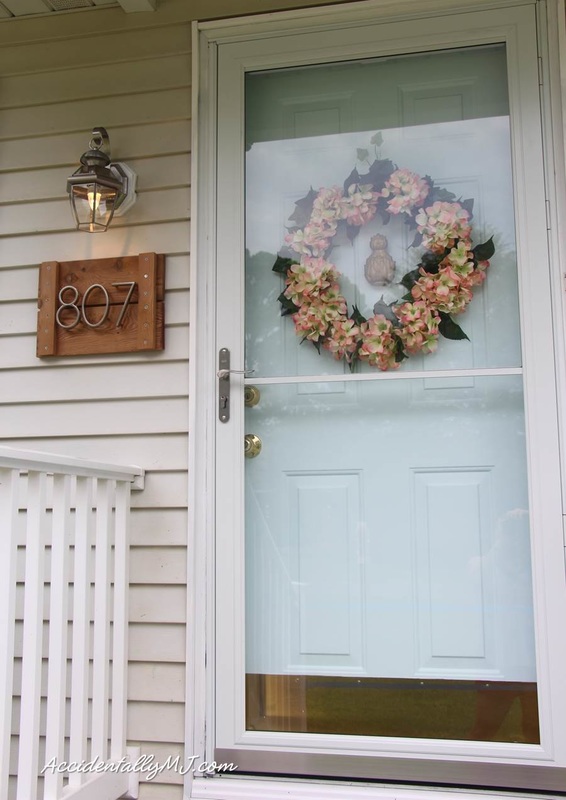
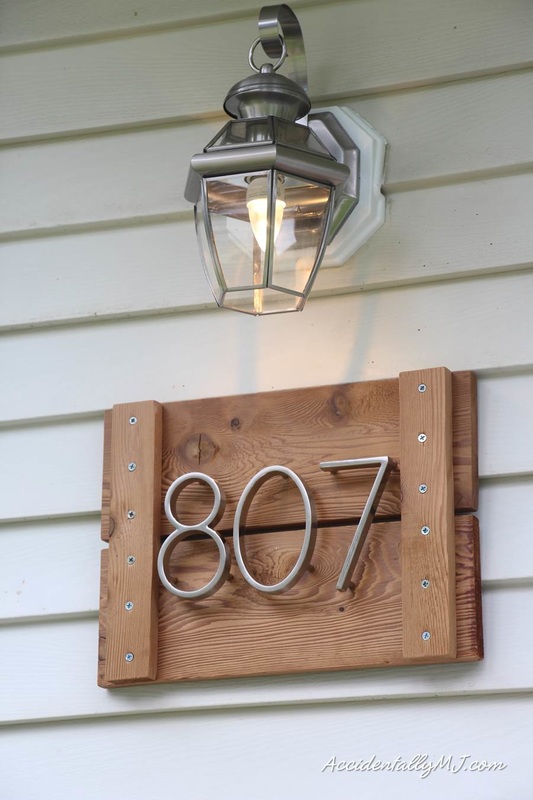
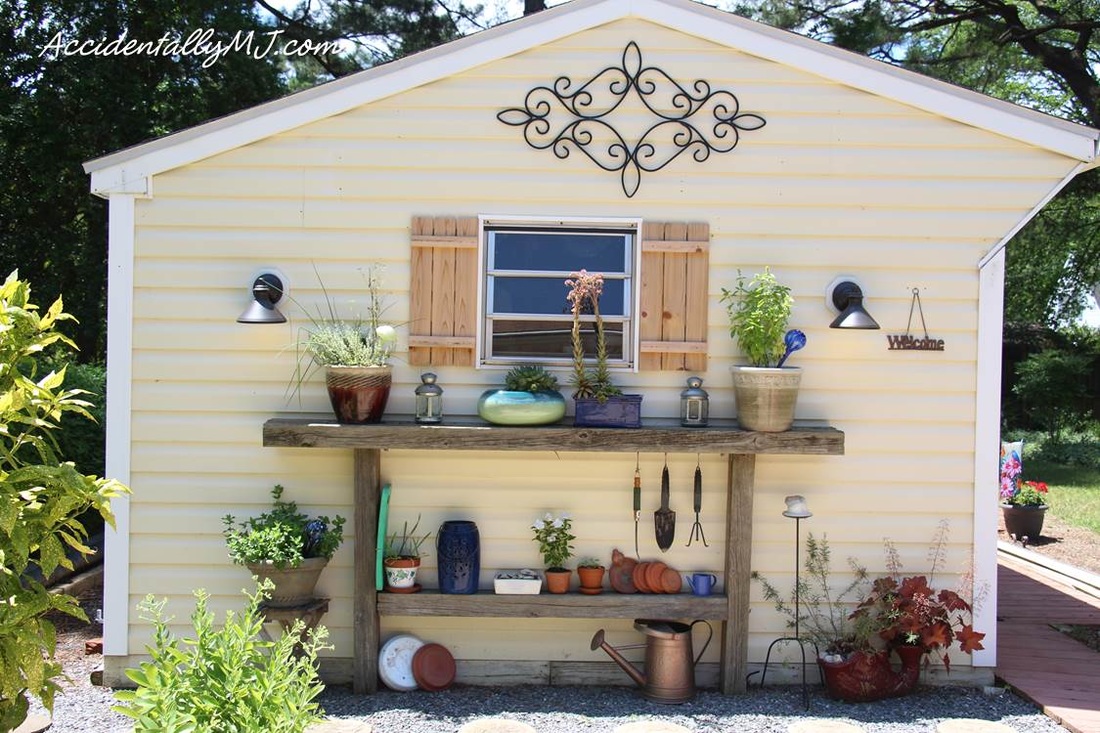
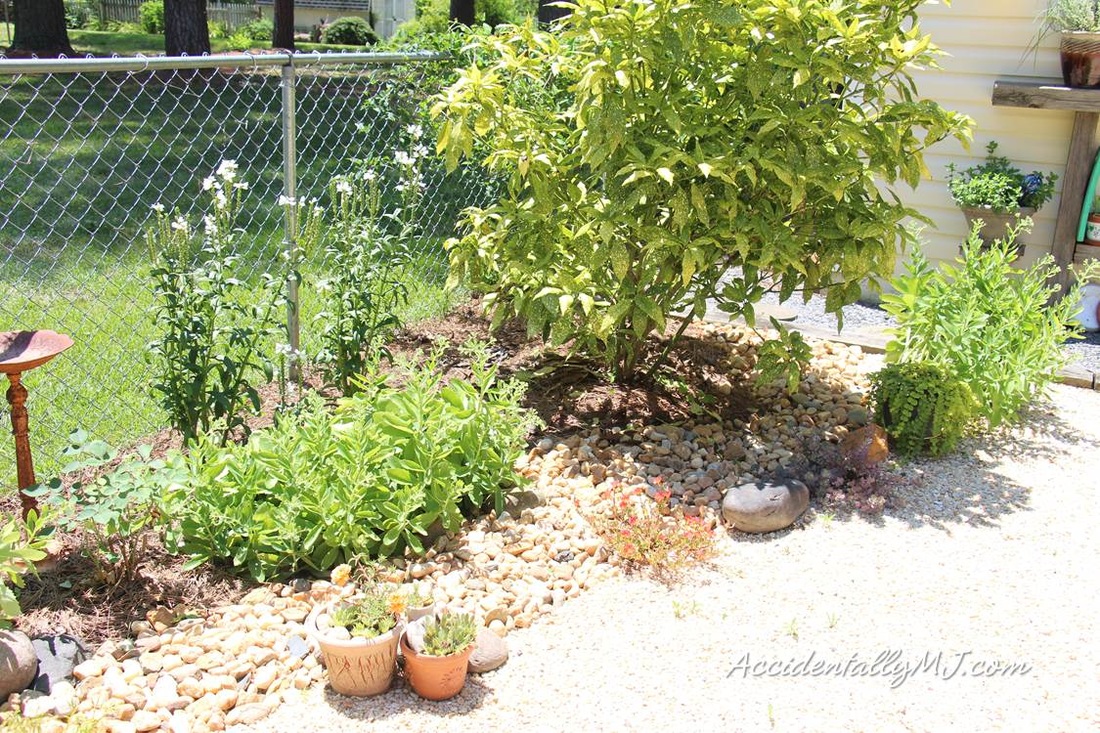
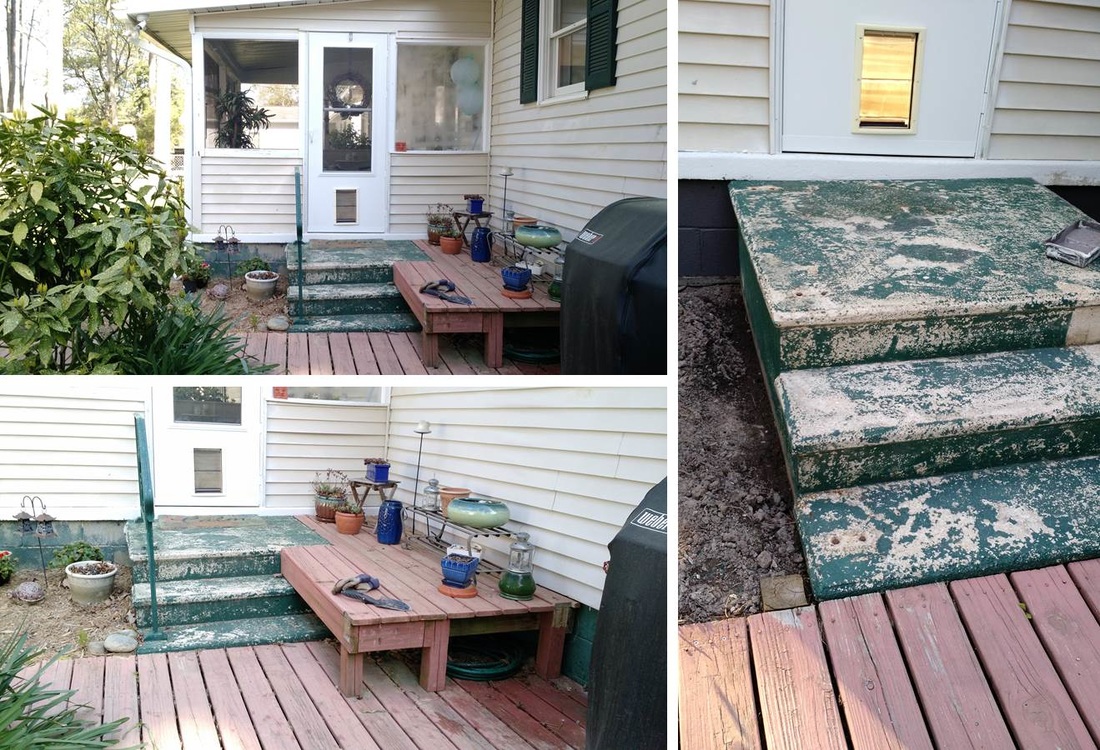
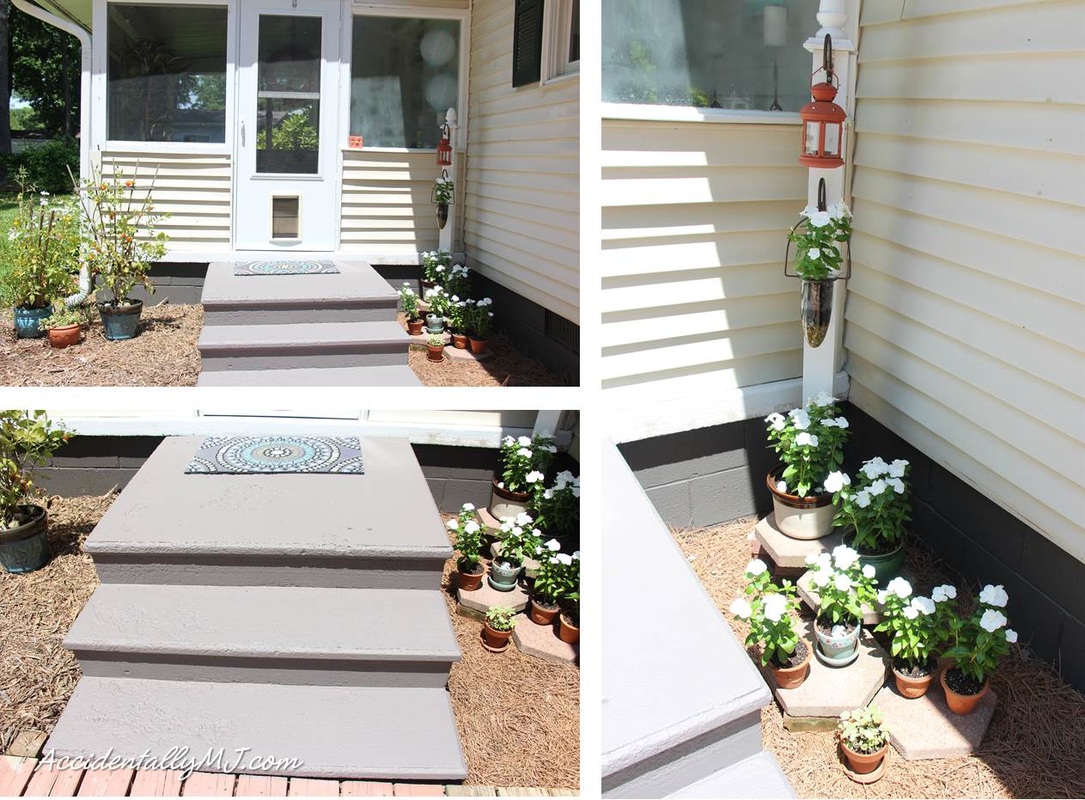
Lovely, right? After having the roof and house professionally cleaned, the new entry, new paint on the foundation and stairs, new shutters and lots of gardening, here is what the front of the house looks like now:
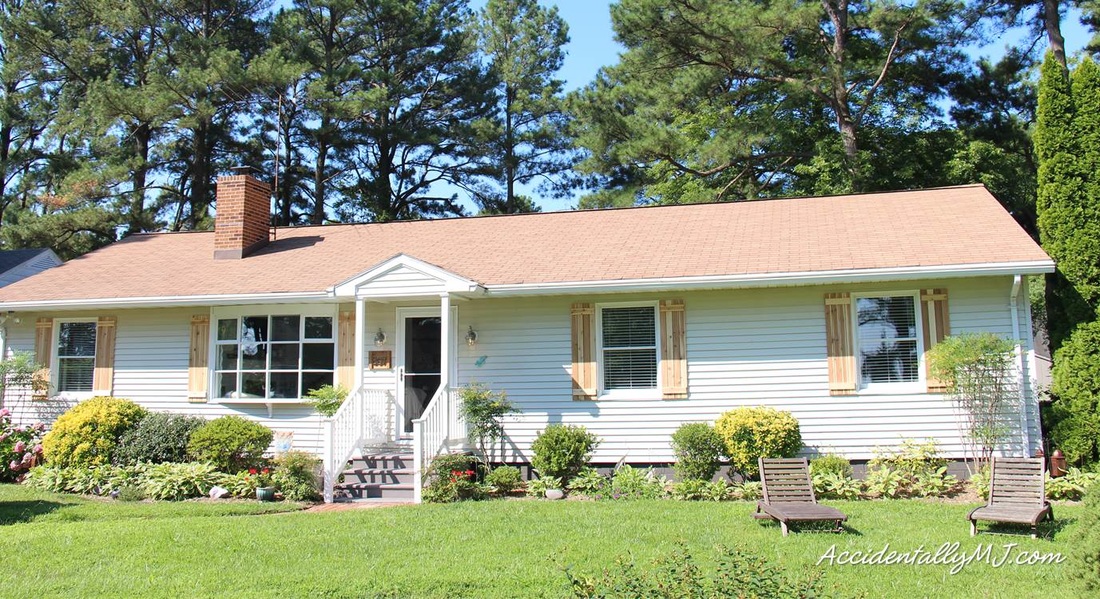
It's a huge improvement. There is still work to be done, but we are calling it good for now...
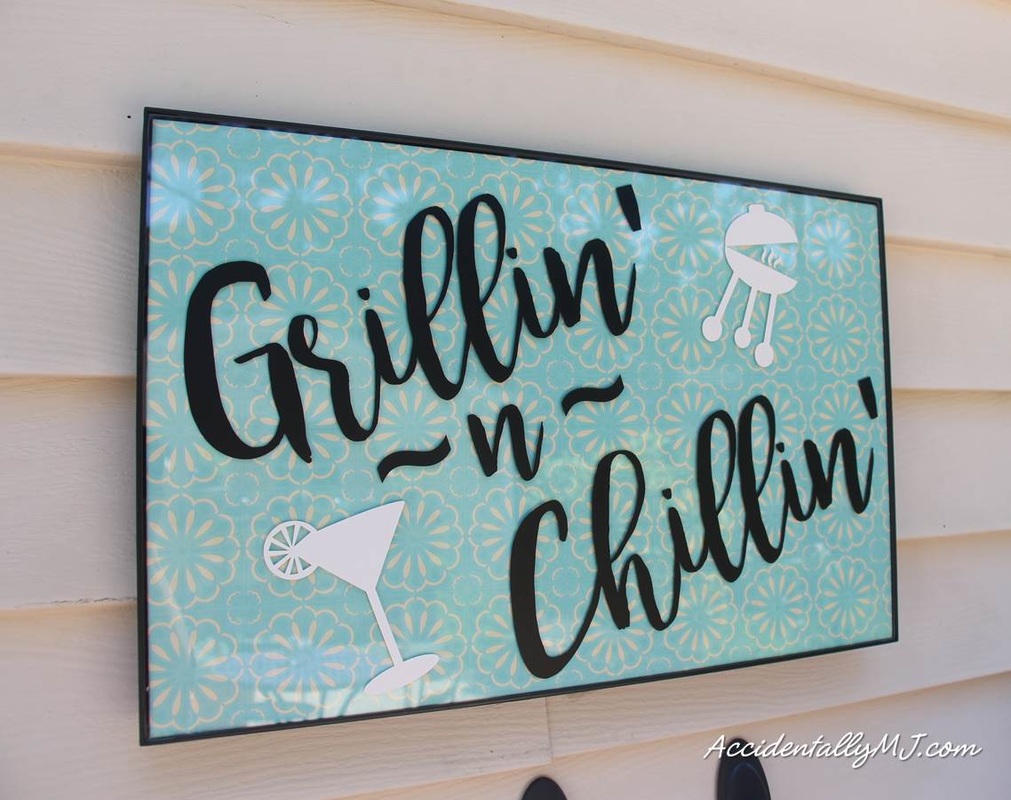
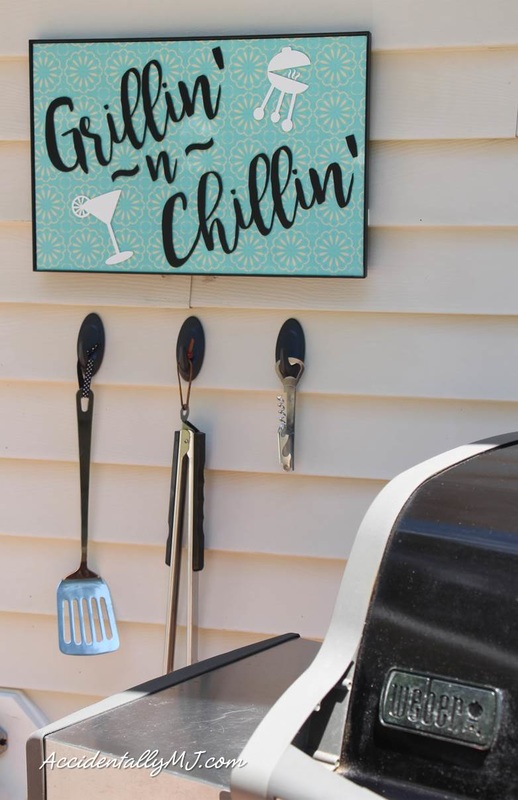
I hope you all have a relaxing weekend! We'll be kicking back with friends enjoying the fruits of our labor! Keep cool Ya'll!
Cheers!
M J
Cheers!
M J


 RSS Feed
